
When we have events or guests over to the studio, there are always a few things that catch everyone’s eye or that everyone wants to know where we got it. We’re always happy to share the things we’ve found and love (or tell you if we don’t love them or they aren’t working so well for us) so here are a few of the things we absolutely love from our studio space.
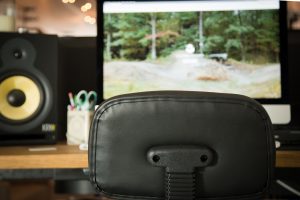
Our Adjustable Standing Desk
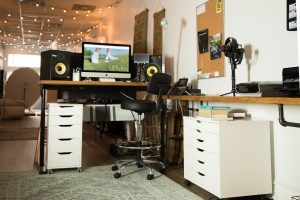
Since there are two of us who use the office part of the space to edit, we needed something that can work for two very different people. Rebecca is barely 5’2″, and Chris is 6′; that 10″ height difference means that a desk and chair that work for one of us is often torture for the other. Especially when we’re talking about items that will get heavy use, for long hours at a time, we wanted things that would work for both of us.
For our desk, we purchased an adjustable desk frame and made a custom top from some lumber we purchased. This frame is basic and durable. It holds up well to the heavy lumber we used as a desktop, along with a large computer, speakers, and all the necessary gear. We opted for the less expensive, non-motorized version. We haven’t found it to be inconvenient to adjust it when switching users (and that’s one less part to worry about going bad!).
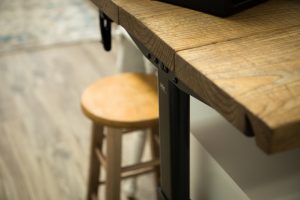
We used that same lumber and some iron pipe to create a stationary return along one wall so that everything matches and we have more usable space.

Our Project Pipeline
I’ve posted because about Honeybook, our virtual CMS, and how much I love it. In fact, I love it so much that I wanted a simple version of the pipeline available in real life, at a glance. (The pipeline is the visual organizational tool that Honeybook uses to show how many projects you have in each stage of production). I settled for 3 categories: Shoot, Edit, and Deliver.
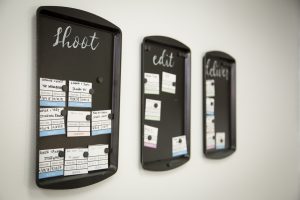
This tells me at a glance, the projects that I have in each stage. When a new contract is signed, I fill out one of the little notecards I designed with the name of the project, type, location, shoot date, and delivery date. The project lives on the Shoot board under we’ve shot it, then is moved to the Edit board, and goes to the Deliver board once it is complete.
I used dollar store cookie sheets and small magnets to create my boards (I just wrote Shoot, Edit, and Delivery at the top with a paint pen) so it’s easy to move projects along. This tells me at a glance what I have coming up, what projects we’re currently editing, and seeing the projects we’ve already delivered helps give me a sense of accomplishment when it feels like I’m not getting enough done.
Our Adjustable Chair/Stool
The standing desk is great. But let’s be honest: no one wants to stand and edit for 6-8 hours at a stretch. So we needed a chair that would be comfortable for long periods of time and easily adjustable. Especially if you’re a tall guy, it’s not always easy to find a chair or stool that will adjust to a height that is comfortable for you (and is durable enough that it doesn’t start falling apart after a year.
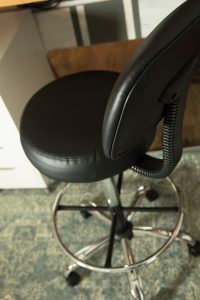
We did a ton of research, then ordered a stool that is marketed at doctors or for drafting tables. After a year of use, we’re super happy with this purchase! This stool can get really tall! In fact, after Chris adjusts it for his height, I have to lower it to even be able to get on it. It also adjusts low enough for shorter people to be comfortable on; I just know how hard it is to find a chair or stool that will be high enough for comfort (and not get wobbly) if you’re on the taller side.
Wall Decor
First off, let me just say that I sincerely hope that the person who sold the idea of Command Strips to 3M is a billionaire because I live and die by them. Since our little studio exists in space that used to be an alley, the walls are HARD. Almost impenetrable. The walls are cement, on top of brick. If Command Strips did not exist, nothing would be on them. I use the little ones to attach all my film reels and quote art to the wall, the velcro ones for bulletin boards and canvasses, and even the heavy duty ones to hang some rarely used flashes high out of the way and hold up my copper wall decor.
We change this one up quite a bit, but it is currently 2 heavy duty Command Strips, a 10 ft. copper pipe, two hula hoops that I had laying around that I spray painted copper, and a handful of embroidery hoops, jute twine, and a swag of faux greenery that I cut in half. Since I had most of the items already laying around, it was about a $20 investment. It might be twice that if you had to buy everything, but I’m a huge fan of looking around and using what you’ve got.
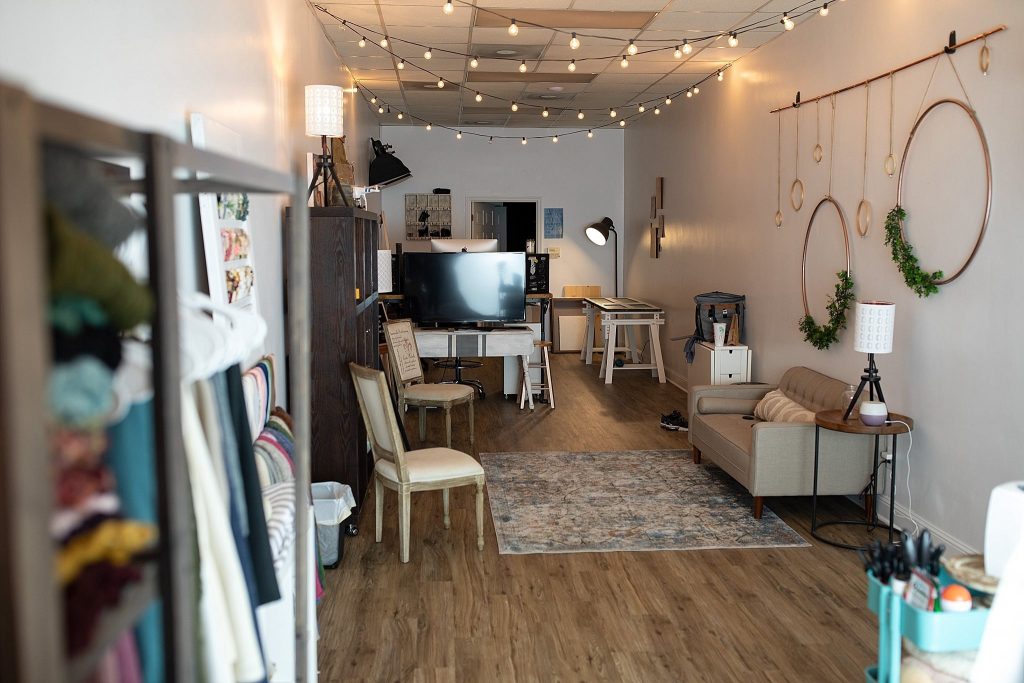
photo courtesy of Melissa Rosic Photography
The Bathroom
I know, it’s not exactly the height of glamour, people like it (namely me!) When we first moved into the space the bathroom had a serious ‘unkept 1980’s vibe’. I feel like when you’re inviting people into your space, a nice bathroom is a sign of good hospitality. It was perfectly functional but seriously ugly, and not hospitable.
We rent our space, and we’re not about investing large sums of money into improving it. Our landlord is very trusting though, and willing to let us do just about anything we want to the space. I won’t bore you with the saga of slightly crooked walls and the difficulty of retrofitting things to a tiny space (ie, there is no modern vanity that will fit), but in the end, I’m super happy with what we ended up with.
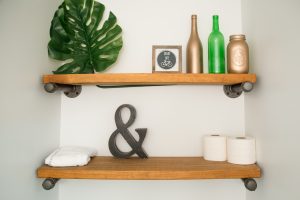
The shelves are the same wood as our desktop and return, attached to the wall with those iron pipes (find a stud, and anchor them well. they are HEAVY!) The sink is a pretty basic cabinet base that I found at our local ReStore, painted with some paint that I already have, and used a premade wood plank from Lowes as a top (painted to match).
Since no vanity would match the space, we went with a super affordable vessel sink.
The price has gone up a bit since I purchased it last year (I was able to get the sink, faucet, and drain for about $70) but even with the cost of the cabinet and plumbing, the whole redo came in at just under $100. Which was so worth it to me because I like pretty bathrooms (and I still want to tile the floor).

Our back room and bathroom also double as a darkroom space when Chris wants to develop black and white film, and this sink can easily hold an 8×10 print. We have an inexpensive tool cabinet on wheels (it locks since it contains photo chemicals) as an extra workspace and Kobalt garage rails with hooks and handles to keep all of our assorted cords and support gear (monopods, light stands, tripods) organized and out of the way.
Those are definitely are the most asked about items, but if you’ve been wondering where we got a thing from the studio, leave a comment and I’ll let you know. The Amazon links are affiliate links; as an Amazon Associate, I earn from qualifying purchases. Just being real…I will only ever share the things I truly love!
Leave A Comment
You must be logged in to post a comment.